• Skip to primary navigation
  • Skip to main content
  • Skip to primary sidebar
  • Home
  • About
  • Work With Me
  • Media
  • Recipes

Holiday

Happy Mother’s Day & #BrunchWeek Wrap-Up

May 11, 2014

Happy Mother’s Day. This is my first Mother’s Day as a Mom. Last year at this time, I had just announced to my family we were going to have a little addition. It wasn’t public knowledge yet, but we eventually shared it with everyone and later revealed we were going to be blessed with a baby girl!

It has been a whirlwind and a whole lot of changes have happened. I can’t believe my little girl is almost 5 months old. She is growing so big and learning new things every day. Her latest achievement is grunting – which is not the greatest when that is the only noise she makes – but she has also started to push up when on tummy-time, grab her toes and legs and wants to be a big girl and sit up on her own – even if she tends to fall over when she tries.

I am so lucky to have Grace in my life and glad she made me a mom. I also want to give a special shout out to my fellow blogging friends who are also celebrating their first Mother’s Day: Katie from Katie’s Cucina, Stephanie from Macaroni and Cheesecake, Tina from My Life as a Mrs and Stefanie from Sarcastic Cooking.

And now for the part everyone is waiting for… the winners of the #BrunchWeek Giveaways. A HUGE thank you, once again to our wonderful sponsors, California Walnuts, Bob’s Red Mill, OXO, Dixie Crystals, Whole Foods Market Orlando, Grimmway Farms, Vidalia Onions, Woot Froot, Baloian Farms and Stemilt!

CLICK HERE TO SEE THE PRIZES, LIST OF WINNERS AND ALL THE #BRUNCHWEEK RECIPES

Until next time,
LOVE & CONFECTIONS!

Filed Under: #BrunchWeek, Holiday, Uncategorized

Mini Walnut Soda Bread

March 7, 2014

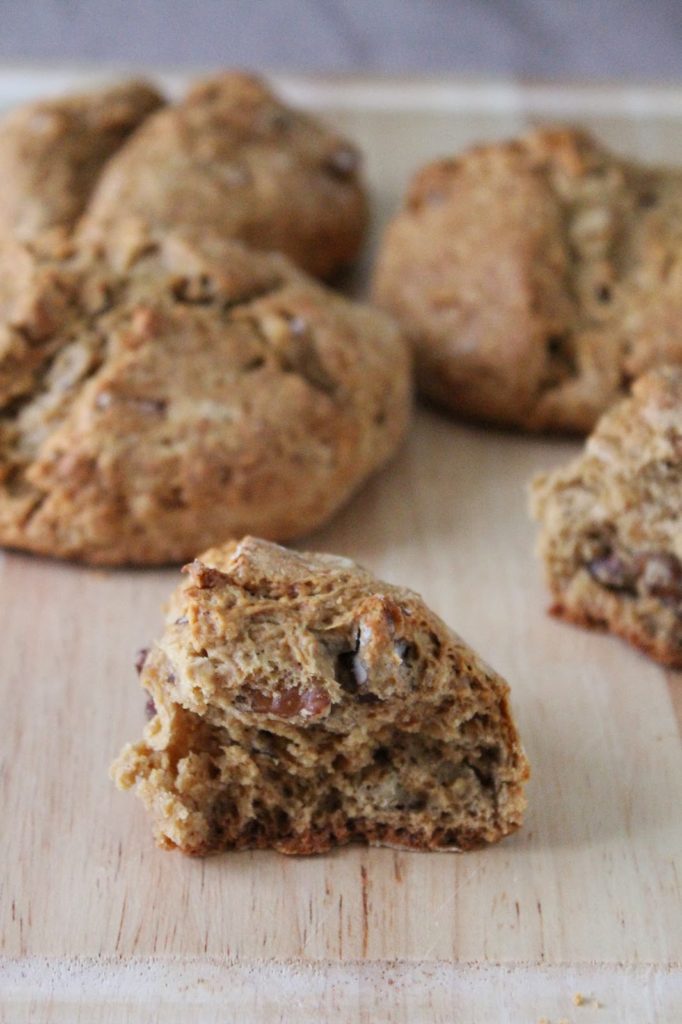
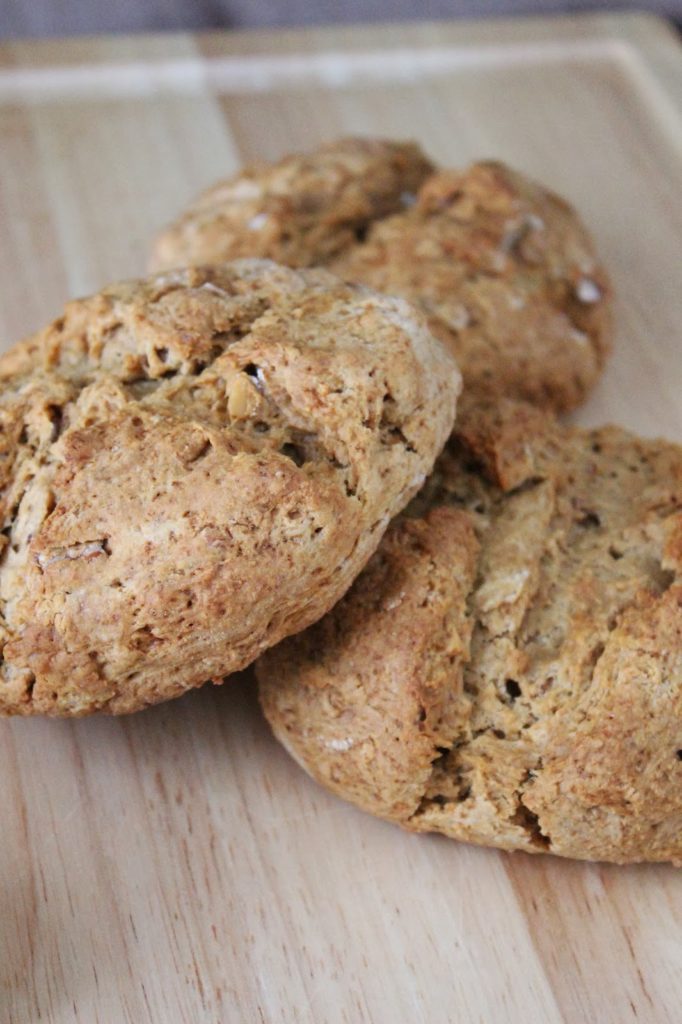
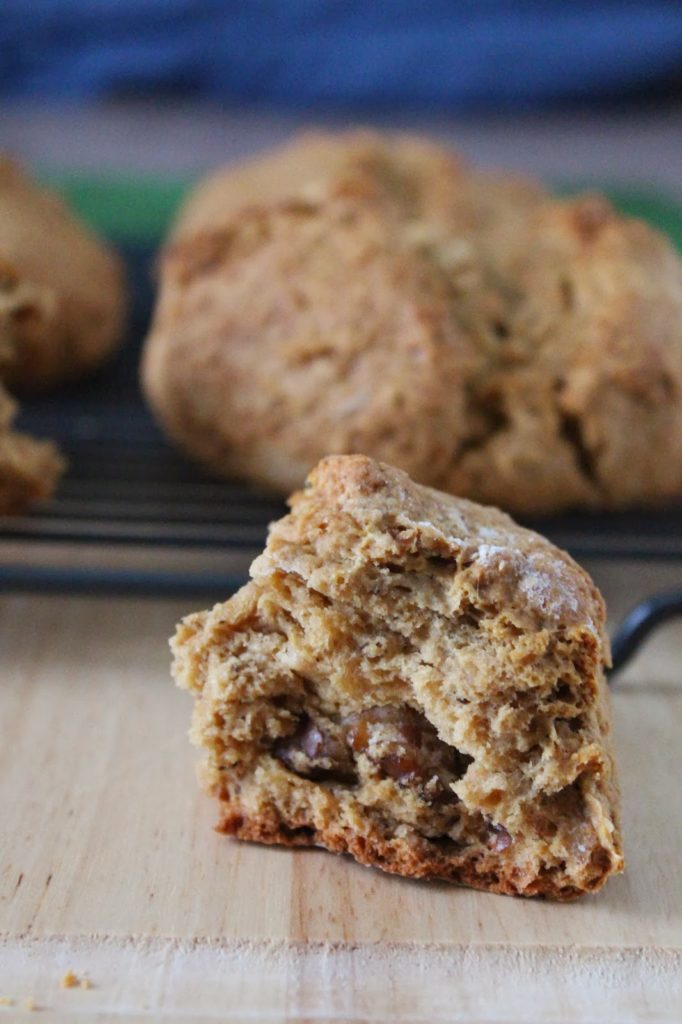
This is a little twist on the traditional Irish Soda Bread. I love the flavor the molasses gives to the bread and the crunch from walnuts is always a great addition. It is slightly sweet from the dark brown sugar and perfect warm, right out of the oven, with some butter and strawberry jam. I bet this would even be great with some cream cheese – tangy, sweet, nutty – I need to try that next!

A bench scraper and bowl scraper are great tools for working with bread. I always keep them handy for scraping dough and batters out of bowls and also for cleaning up my work area. Some doughs, like this one, are very sticky and require more clean-up than others. I definitely recommend getting some if you want to work with dough – they make it easier.

Mini Walnut Soda Bread
adapted from Epicurious

Mini Walnut Soda Bread Ingredients:
 – 3 & 1/4 cups All Purpose Flour, plus more for dusting
 – 1/4 cup Dark Brown Sugar, packed
 – 1 teaspoon Baking Soda
 – 1 teaspoon Salt
 – 1/4 cup Unsalted Butter, chilled and cut into small pieces
 – 1 cup Walnuts, toasted and chopped
 – 1 cup Buttermilk, chilled
 – 1 large Egg
 – 2 tablespoons Molasses

Mini Walnut Soda Bread Directions:
 – Heat oven to 375F and lightly flour a half sheet pan. Toast Walnuts for about 5 minutes in the oven while it is almost to temp.
 – In a large bowl, whisk together the Flour, Dark Brown Sugar, Baking Soda and Salt.
 – Using a pastry blender, knife or your hands, cut the butter into the flour mixture until it resembles a coarse meal. Mix in toasted Walnuts.
 – Whisk together Buttermilk, Egg and Molasses in a measuring cup, then slowly add it into the flour mixture while stirring until it comes together to form a medium-to-firm dough.
 – The dough will be soft and sticky. Turn it out onto a floured surface and knead the dough until it comes together, adding a bit of flour if it is too sticky. Flatten the dough into a small disk and cut it into 4 to 6 equal parts.
 – Take each piece, roll into a ball, place on the half sheet, flatten and using a sharp knife cut a cross into the top of each mini loaf.
 – Bake for about 25-30 minutes, until golden brown and a tester inserted comes out clean. Cool on a wire rack. Serve warm or room temperature. Enjoy!

Until next time,
LOVE & CONFECTIONS!
Filed Under: Holiday, Quick Breads-Muffins-Scones, Uncategorized

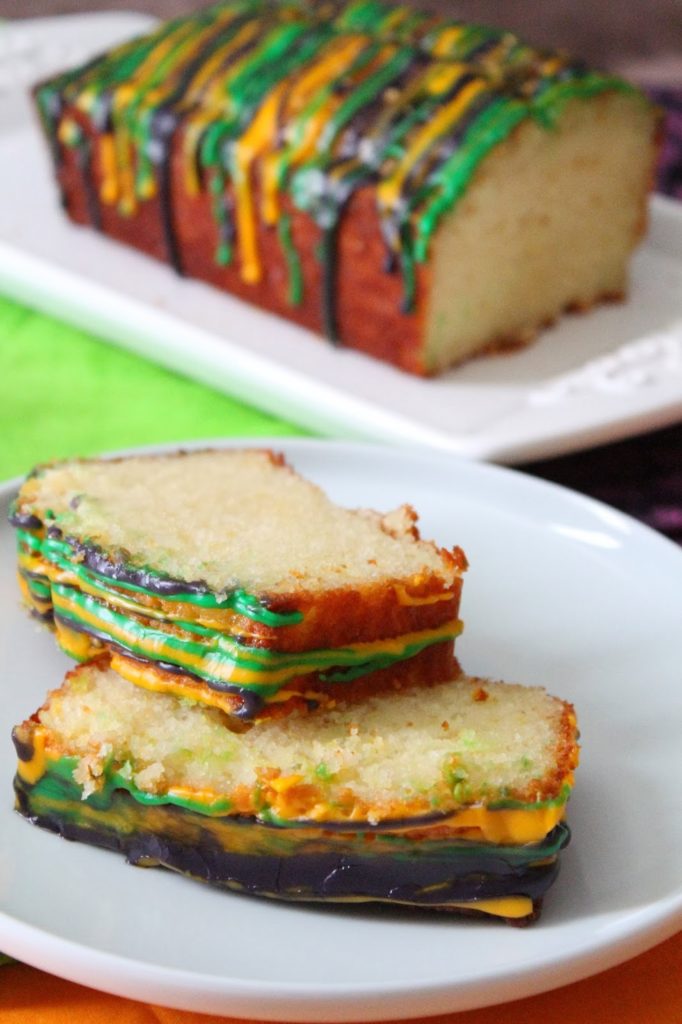
Lemon Yogurt Mardi Gras Cake

March 2, 2014

Mardi Gras is just around the corner. I didn’t have time to make a king cake this year. Baby L&C doesn’t nap long enough for me to work with yeast breads right now. Quick breads, on the other hand, are perfect. I saw this recipe on TV the other day and knew I wanted to make it, but with my own twist.

I love anything lemon – just like my Mom. Lemons are so bright and refreshing and my favorite, second to the Key Lime, of course. This cake can easily be adapted to all kinds of citrus: Key Limes, Oranges, Grapefruit.

Lemon Yogurt Mardi Gras Cake
adapted from Ina Garten

Lemon Yogurt Cake Ingredients:
 – 1 & 1/2 cups All-Purpose Flour
 – 2 teaspoons Baking Powder
 – 1/2 teaspoon Salt
 – 1 cup Greek Lemon Yogurt (I used Stonyfield Organic)
 – 1 cup Granulated Sugar
 – 3 large Eggs
 – 2 teaspoons Lemon Zest (from one large Lemon)
 – 1/2 teaspoon Vanilla Extract
 – 1/2 cup Vegetable Oil

Lemon Glaze:
 – 1/3 cup granulated Sugar
 – 1/3 cup freshly squeezed Lemon Juice (from one large Lemon)

Lemon Mardi Gras Frosting:
 – 1 cup Powdered Sugar
 – 2-3 tablespoons freshly squeezed Lemon Juice
 – Green, Yellow and Purple Food Coloring

Lemon Yogurt Cake Directions:
 – Heat oven to 350F. Line an 8.5 inch loaf pan with parchment paper, then grease it with baking spray or butter/shortening and flour.
 – In a medium bowl, sift together the Flour, Baking Powder and Salt.
 – In another medium bowl, whisk together the Yogurt, Sugar, Eggs, Lemon Zest and Vanilla. While whisking, slowly add the dry ingredients into to wet mixture.
 – Using a spatula, stir/fold the oil into the batter.
 – Pour into prepared pan and bake for 50 minutes, or until a toothpick comes out clean.

For the Lemon Glaze: 
 – Cook the second measure of Sugar and the Lemon Juice in a small saucepan on the stove, until the sugar dissolves. Set aside

 – When the cake is done, let it cool in its pan for 10 minutes, then place on a cooling rack over a parchment lined baking sheet. Poke some small holes into the cake and pour the Glaze over the warm cake. Let the cake cool completely

For the Lemon Mardi Gras Frosting: 
 – Combine the Powdered Sugar and Lemon Juice in a bowl. Separate into three small bowls and add Food Coloring. Drizzle over cooled cake. Enjoy

Until next time,
LOVE & CONFECTIONS!
Disclaimer: I was not compensated for using any products mentioned. All opinions are my own.

Filed Under: Holiday, Quick Breads-Muffins-Scones, Uncategorized

Frankenstein Pudding Cups and Halloween Traditions

October 30, 2013

Halloween is one of my favorite holidays – I love decorating and doing activities with friends!


Every Family has their holiday traditions, and I especially love mine. Homemade Easter Bread, Feast of the Seven Fishes for Christmas, and cookies on almost every holiday. We always made my Grandmother’s recipe. Mom would make them a few days ahead and freeze them so we would be all set to decorate.

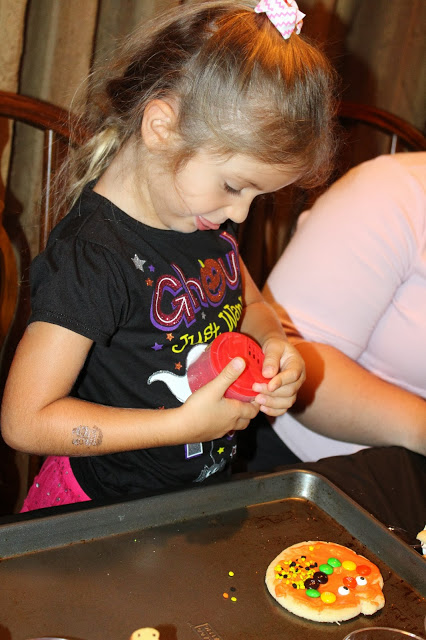
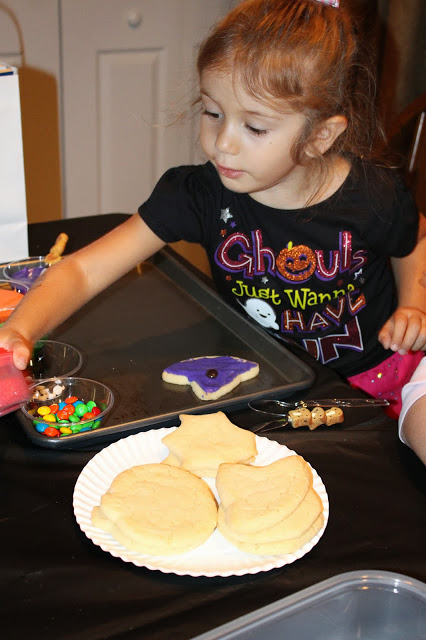
As little girls, KB and I had to have a plethora of frosting colors and sprinkles to adorn our cookies. This year for Halloween, I asked my girlfriends, Thelma and Lolo to bring their kids over so we could do cookies. I love keeping the holiday cookie tradition alive – especially since my Grandmother is no longer with us and my Mom lives a few hundred miles away. It is definitely one tradition I will be doing with Baby L&C when she is old enough… almost 6 weeks until due date by the way!
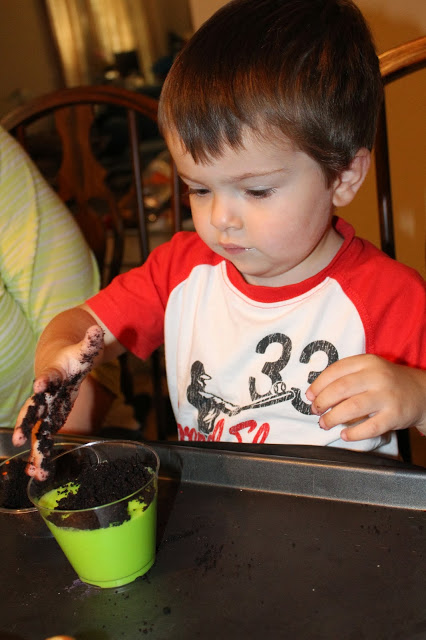
Thelma’s daughter, Little E, is almost 5 and Lolo’s son is almost 3. We had such a good time making cookies, even though our attention span was very short. They loved all the frosting colors and the special sprinkles I bought for the occasion. I haven’t seen that many eyeballs on one cookie in a while!
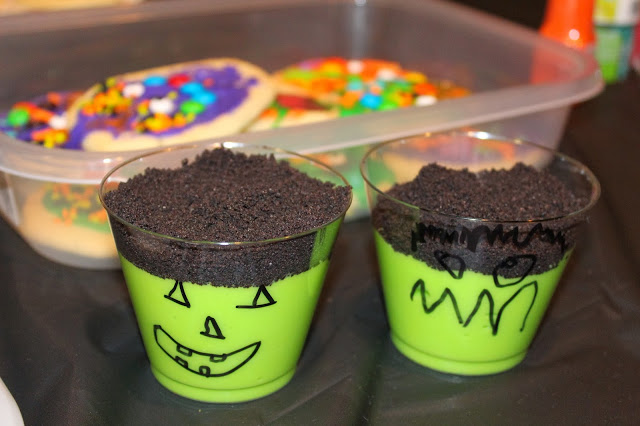
After cookie decorating, we made Frankenstein Pudding Cups. I saw the idea on Pinterest a while back and thought it would be fun for them to make – and eat. It was really simple and took only a few minutes to do. The kids loved getting their fingers in the Oreo crumbs. 

Frankenstein Pudding Cups
inspired by Pinterest
Frankenstein Pudding Cups Ingredients:
 – 4-5 decorated clear plastic cups
 – 1 box Instant Vanilla Pudding
 – 3 cups cold Milk
 – Neon Green Food Coloring, 20-25 drops
 – Neon Blue Food Coloring, 2-3 drops
 – 20 Oreos or other cream filled chocolate cookies, made into crumbs in food processor
Frankenstein Pudding Cups Directions:
 – Using a permanent marker, draw faces on the outside of the plastic cups
 – In a large mixing bowl, mix the Instant Pudding, cold Milk and Food Coloring for 2 minutes.
 – Pour pudding into cups and top with Oreo Crumbs. Refrigerate 20 minutes
Until next time,
LOVE & CONFECTIONS!
Filed Under: Cookies, Holiday, Uncategorized

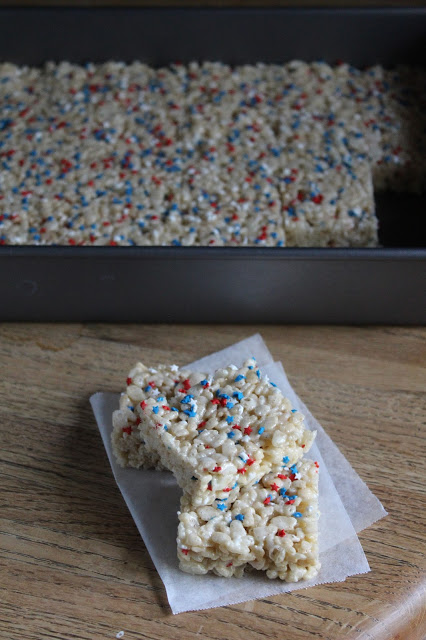
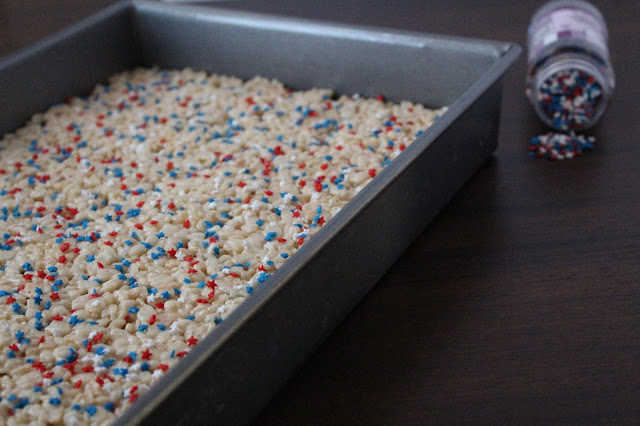
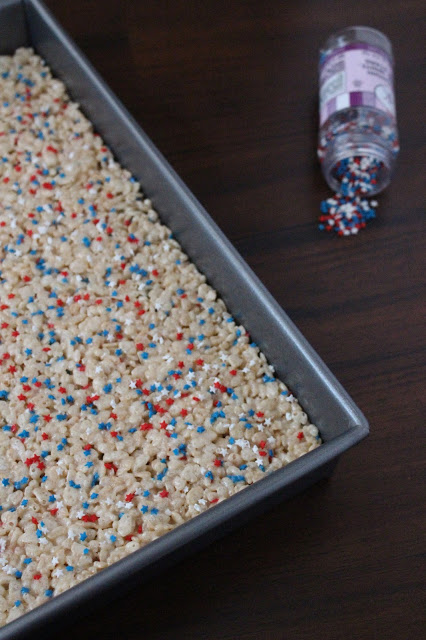
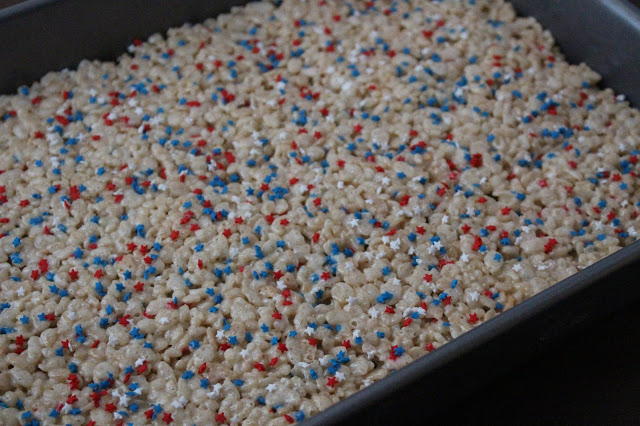
Patriotic Rice Krispies Treats for the 4th of July

July 4, 2013

 Happy 4th of July everyone! This is a classic and super easy, no-bake recipe – in case you need to bring a last minute dessert to a barbecue today. We are having friends over, grilling and hoping the weather gets clear enough to do fireworks tonight.

When I was a kid, my parents always had a 4th of July party. We barbecued, ate and swam in the pool all day long. Once the sky got dark enough, everyone settled on lawn chairs in our driveway. All the neighborhood dads gathered their stash of fireworks and headed to our house. My Dad always went big with the firework display. We had to have anywhere from a 4-8 foot table set up to hold it all.

My Mom grew an Aloe plant in our front yard specifically for July 4th. The dads would all take turns lighting the bottle rockets, fountains or roman candles, and run away yelling “fire in the hole”. Then came my Dad, with the massive amount of rockets and mortars. We always had a great show.

Hope you have a fun and safe 4th of July!!!

Patriotic Rice Krispies Treats
adapted from Kellogg

Patriotic Rice Krispies Treats Ingredients:
 – 1 stick unsalted Butter
 – 10.5 ounces mini Marshmallows (1 bag)
 – 6 cups Rice Krispies
 – 4 Tablespoons Sprinkles, divided

Patriotic Rice Krispies Treats Directions:
 –  Use vegetable oil cooking spray to lightly grease a 9 x 13 cake pan.
 – Melt Butter in a large pot. Add whole bag of mini Marshmallows. With a wooden spoon, stir continuously until all the marshmallows have melted. Add in the Rice Krispies and 2 tablespoons of Sprinkles.
 – Stir until completely combined and all the Rice Krispies are covered with marshmallows
 – Pour into the 9 x 13 pan and spread evenly with an offset spatula.
 – Sprinkle the remaining 2 tablespoons of Sprinkles on the top. Cool and cut into squares. Best eaten within 24 hours.

Until next time,
LOVE & CONFECTIONS!
Filed Under: Holiday, Uncategorized

Buona Pasqua 2010

April 3, 2010

Happy Easter… or Buona Pasqua in Italian!

I’m doing the family Easter traditions on my own this year, because we can’t all be together.

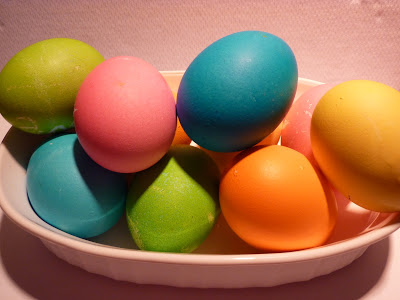
I still love dying Easter eggs. The $2 kit is a bargain for the joy of pulling out a dozen or more brightly colored eggs. When we were little, we only used vinegar with the color tablets. Now they now have choices for coloring methods…

For pastel colored eggs use only water with the colored tablet.
For traditional colored eggs use lemon juice and water with the colored tablet.
For ultra-vibrant colored eggs use vinegar and water with the colored tablet.

This year I decided to go with my family’s “traditional” method and used vinegar. The little matching cups make dying eggs so easy, unless you can’t figure out which tablet is which. I had to guess the colors 3 out of the 5 tablets and hoped I put them in the correct corresponding colored cup – which I did. Yellow, orange and green – yes, green! – look way too similar.

Another family tradition is baking and decorating sugar cookies. My mom, along with other family members, decorated cookies and dyed eggs today. I love picture text messages! My mom text messaged some pictures of her Easter cookies this year and of the table decorated for her Easter Brunch.

Another Tradition is Easter Bread. My grandmother, Grace, made it every year. She taught my mom how to make and and they both taught me when I was younger. I remember the first time I was taught how to make Easter Bread, in my mom’s kitchen. I watched them make the dough and waited patiently for it to rise. I loved when the dough had to double in size, because I was the one to either put it on a table in the garage – when it was warm enough, or on top of the running clothes dryer – which always made me laugh inside. The smell of Easter Bread baking is one of my favorite smells in the whole world. I don’t use anise seeds because I don’t like the taste. Instead, I make the recipe without and put colored sprinkles on top.

After my grandmother passed away, making Easter Bread became more meaningful. Easter Bread is not only a way to remember her, but also to keep a tradition alive that has been passed down through our family.

Until next time,
Love & Confections!

Filed Under: Holiday, Uncategorized

  • « Go to Previous Page
  • Page 1
  • Page 2
  • Page 3
  • Page 4

Primary Sidebar

Meet Terri
founder & pastry chef

Subscribe to Love and Confections

Popular Posts

Pumpkin Pecan Cupcakes with Cinnamon Cream Cheese Frosting
Pumpkin Spice Cinnamon Roll Cake
Oatmeal Cream Pie Layer Cake - oatmeal brown sugar layer cake, marshmallow frosting filling, and vanilla bean buttercream with oatmeal cream pie garnish
Easy Piña Colada Poke Cake - pineapple cake, coconut cream pudding, whipped topping, pineapple chunks and maraschino cherries
Mermaid layer cake
PIneapple cake with pineapple curd, teal frosting and tropical sprinkle mix
Irish Cream chocolate cupcakes topped with white and green buttercream piping and shamrock sprinkle mix

AMAZON AFFILIATE

Love and Confections is a participant in the Amazon Services LLC Associates Program, an affiliate advertising program designed to provide a means for sites to earn advertising fees by advertising and linking to amazon.com.

Copyright © 2018 Love and Confections · Log in