Honey and I have a love-hate relationship. I love honey, but I hate bees. You need bees to make honey, so if I want honey, bees are a necessary evil. I don’t like any stinging insects really, but that is because I was stung as a child. Back to the cake…

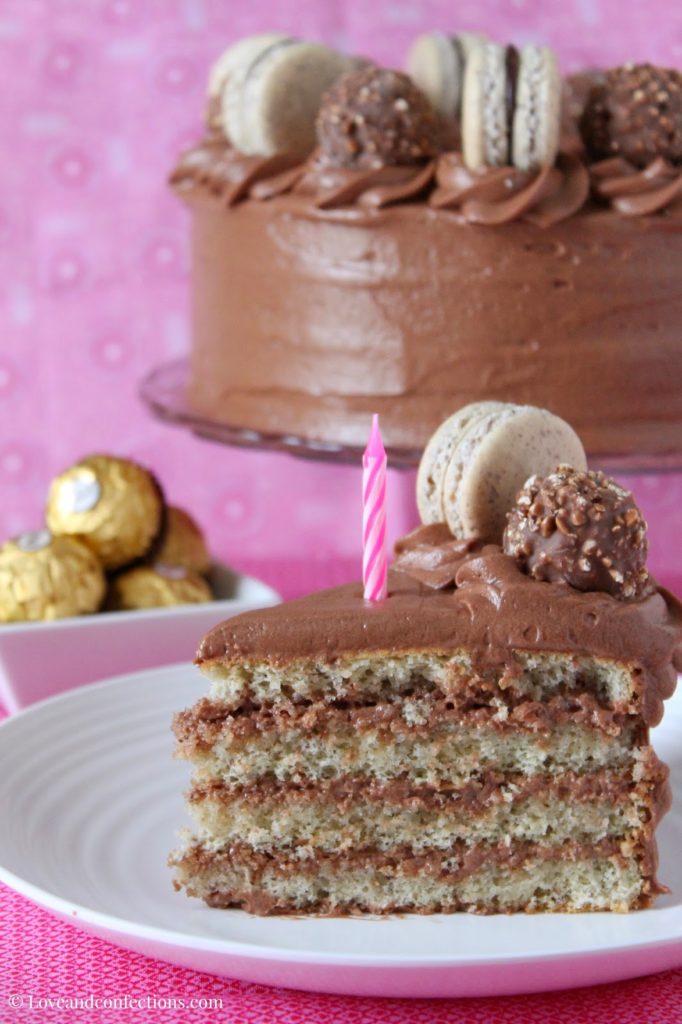
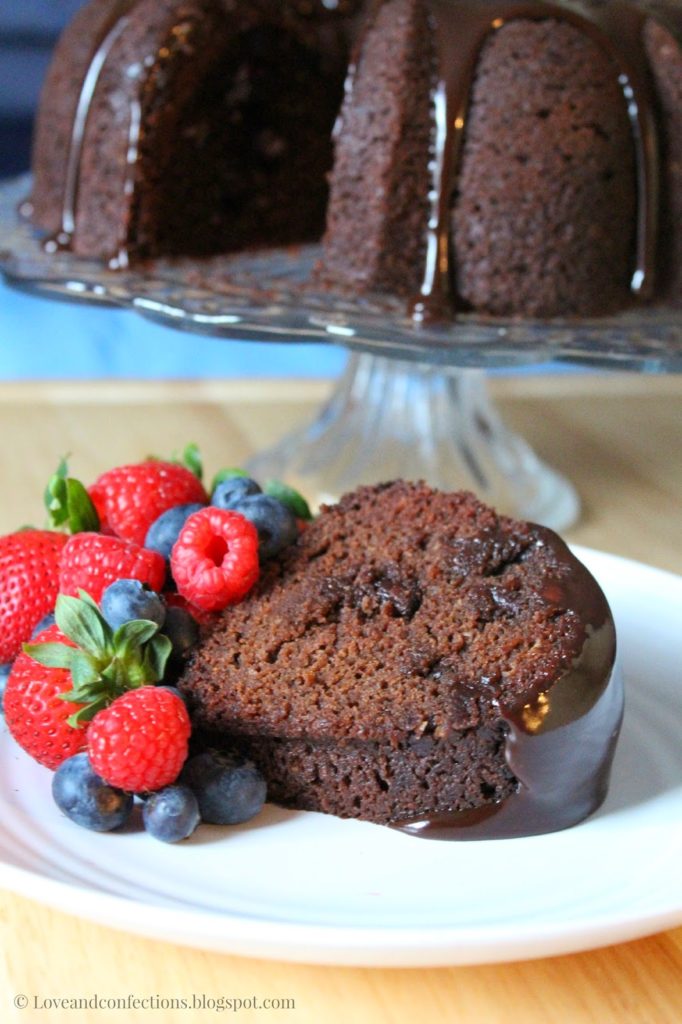
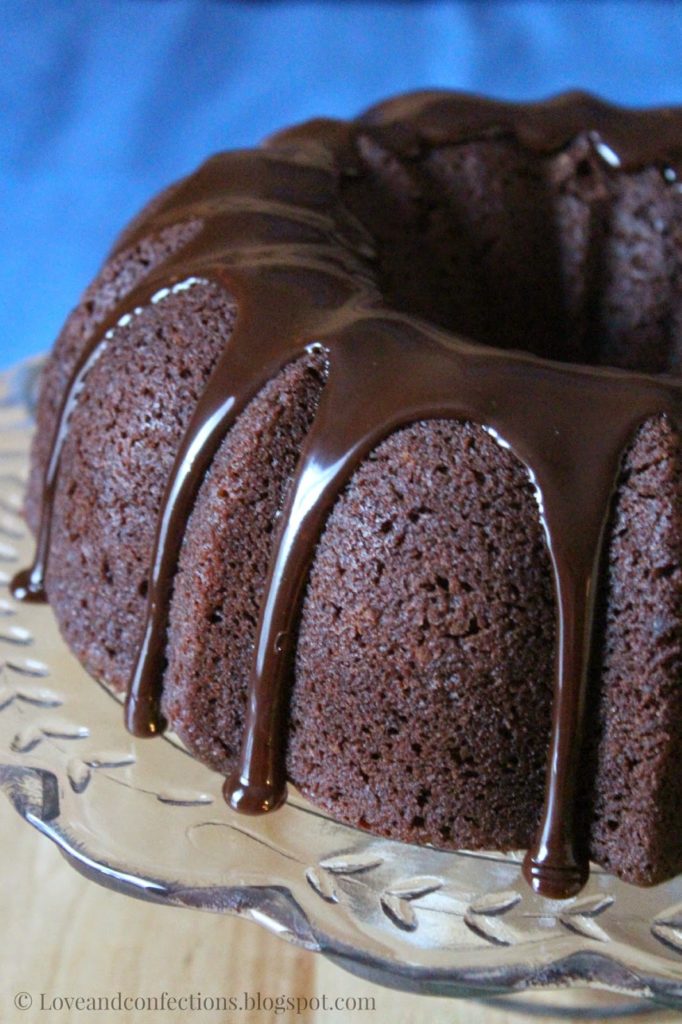
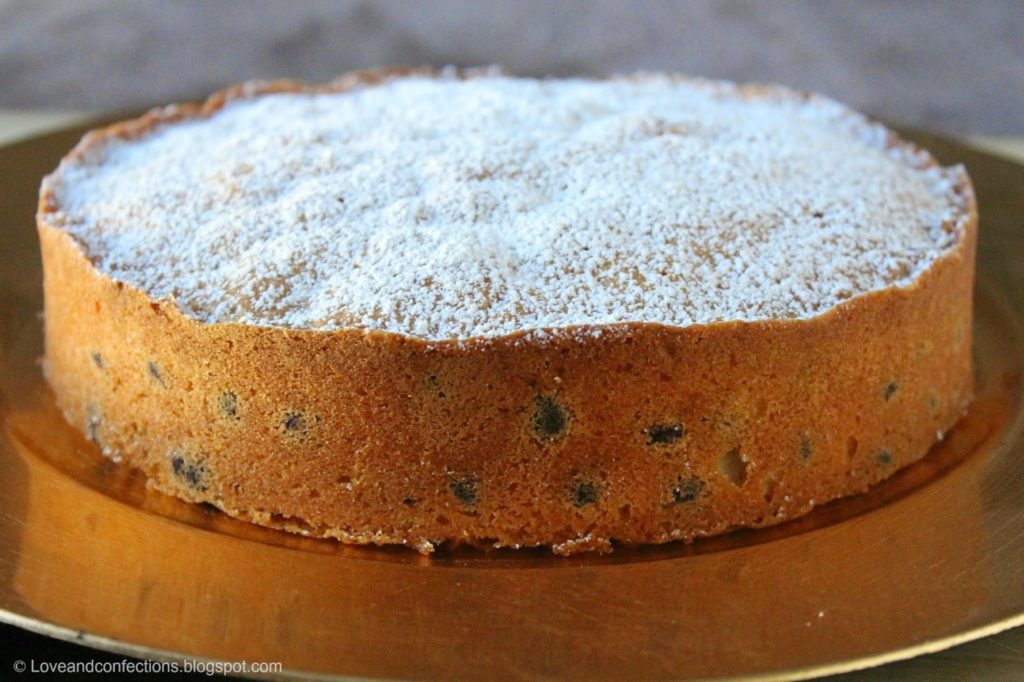
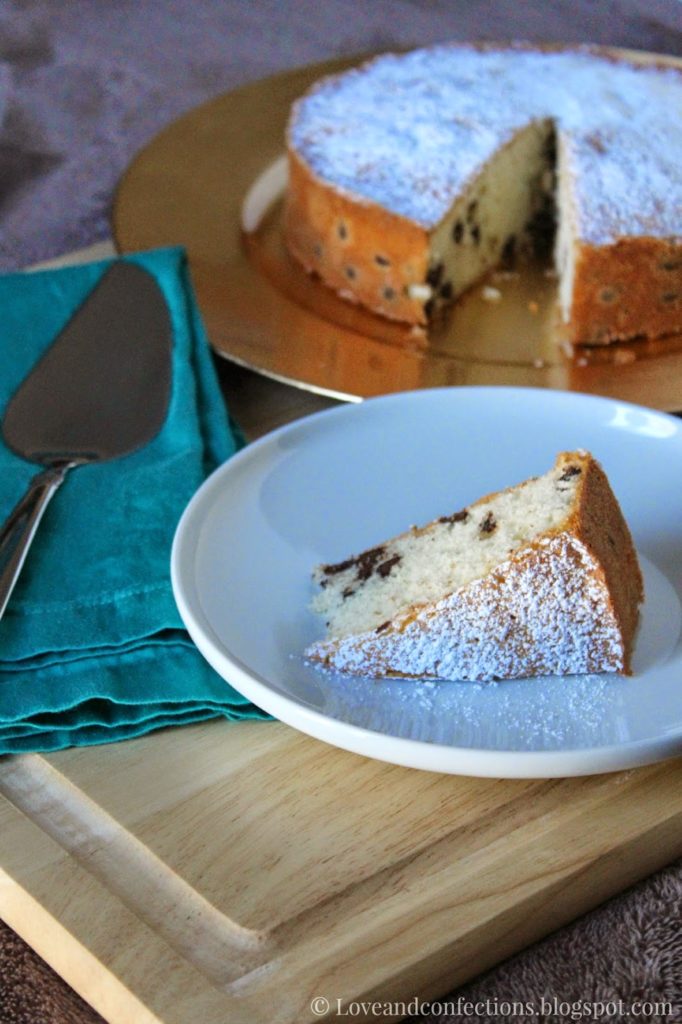
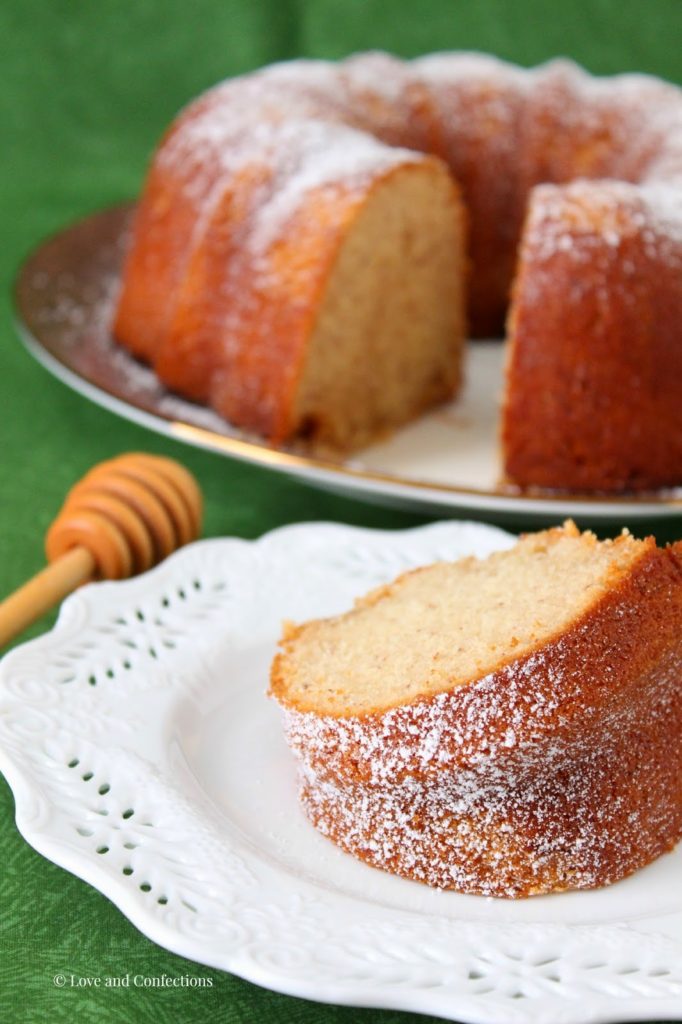
This cake is so full of honey. It has both honey and honey powder inside the cake, as well as being soaked in a honey glaze. It isn’t too sweet or overpowering, in my opinion, and works really well with the almond extract and almond flour.
I bought a small packet of honey powder during a day trip to the west coast. I didn’t know what I was going to use it for, but it just drew me in – you really don’t see honey powder every day. I read that it is great in cakes, cookies and other baked goods, because you get that great honey taste without altering the moisture content of the product. Baking is a science, so measurements and ratios really do matter. The honey powder is not necessary for the cake and the original recipe does not use it, so it can be left out.
One trick I learned while in culinary school was about working with honey or any other sticky ingredient, like molasses. Use cooking spray to coat the liquid measuring cup, then measure out the amount you need. The sticky ingredient will slide out when poured.
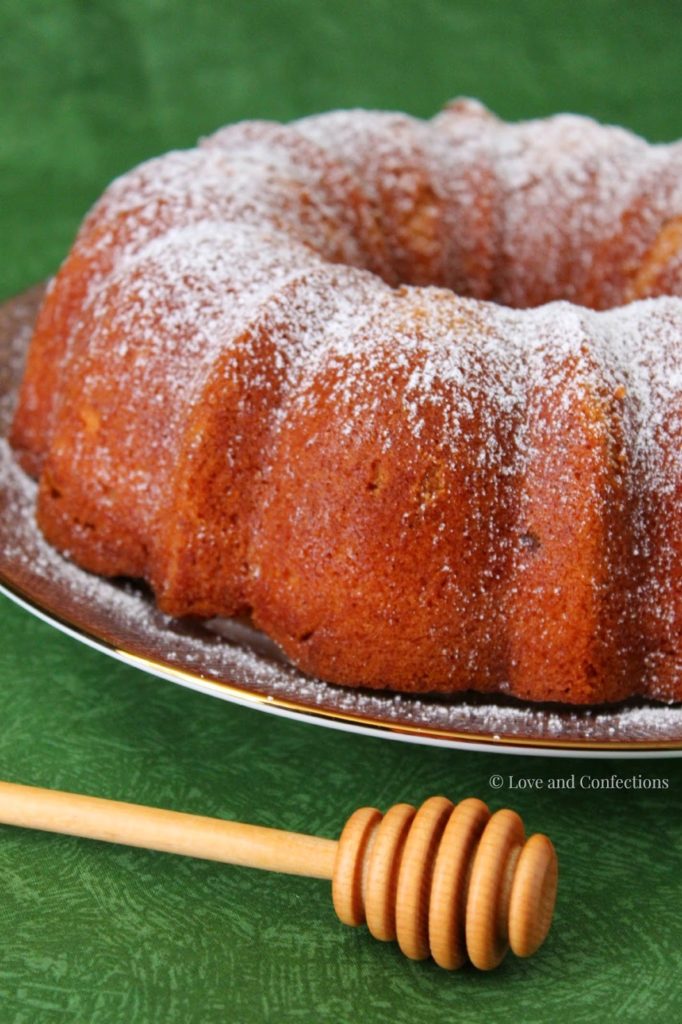
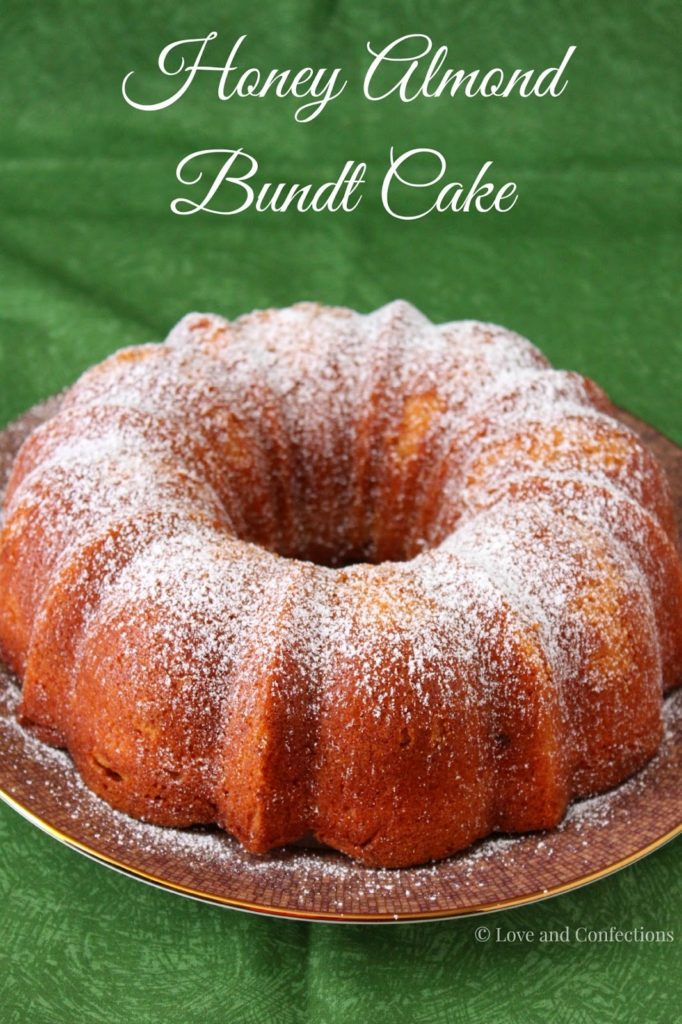
Honey Almond Bundt Cake
adapted from Williams-Sonoma
Click here for a printable recipe
Honey Almond Bundt Cake Ingredients:
– 4 large Eggs
– 2 teaspoons Vanilla Extract
– 1 teaspoon Almond Extract
– 2 & 3/4 cups Cake Flour
– 1 & 1/4 teaspoon Baking Powder
– 1/4 teaspoon Salt
– 2 tablespoons Honey Powder
– 1 cup Unsalted Butter (2 sticks)
– 1/2 cup packed Light Brown Sugar
– 1/2 cup Granulated Sugar
– 1/2 cup Honey
– 1/3 cup Vegetable Oil
– 3/4 cup Water
– 3/4 cup Almond Meal or Almond Flour
– Powdered Sugar for dusting (optional)
– Honey for drizzling (optional)
Honey Almond Glaze Ingredients:
– 3 tablespoons packed Light Brown Sugar
– 2 tablespoons Water
– 1/4 cup Honey
– 1/2 teaspoon Vanilla Extract
– 1/2 teaspoon Almond Extract
– Pinch of Salt
Honey Almond Bundt Cake and Glaze Directions:
1. Heat oven to 325°F and prepare a bundt pan with either baking spray or shortening and flour.
2. In a small bowl, whisk together the Eggs, Vanilla Extract and Almond Extract and set aside. In a medium bowl, sift the Cake Flour, Baking Powder, Salt and Honey Powder and set aside.
3. In the bowl of a stand mixer, beat the Butter on medium-high until light and fluffy. Add in the Light Brown Sugar and Granulated Sugar and beat until fluffy and lighter in color, scraping down the sides of the bowl after. Add in the Honey and Vegetable Oil and beat until combined, scraping down the sides of the bowl after incorporating.
4. On medium-low, slowly add in the Egg mixture and mix until just combined.
5. While on low, add in the Flour mix and Water in 3 additions, alternating between the two and beginning and ending with the flour. Beat until incorporated and scrape down the sides of the bowl after mixing.
6. With a spatula, fold in the Almond Meal. Pour into prepared bundt pan. Tap the pan on the counter to release air bubbles, then bake for 55-60 minutes, or until a toothpick inserted into the center comes out clean. Poke holes is the bottom of the bundt with a toothpick and place on a wire rack while preparing the glaze.
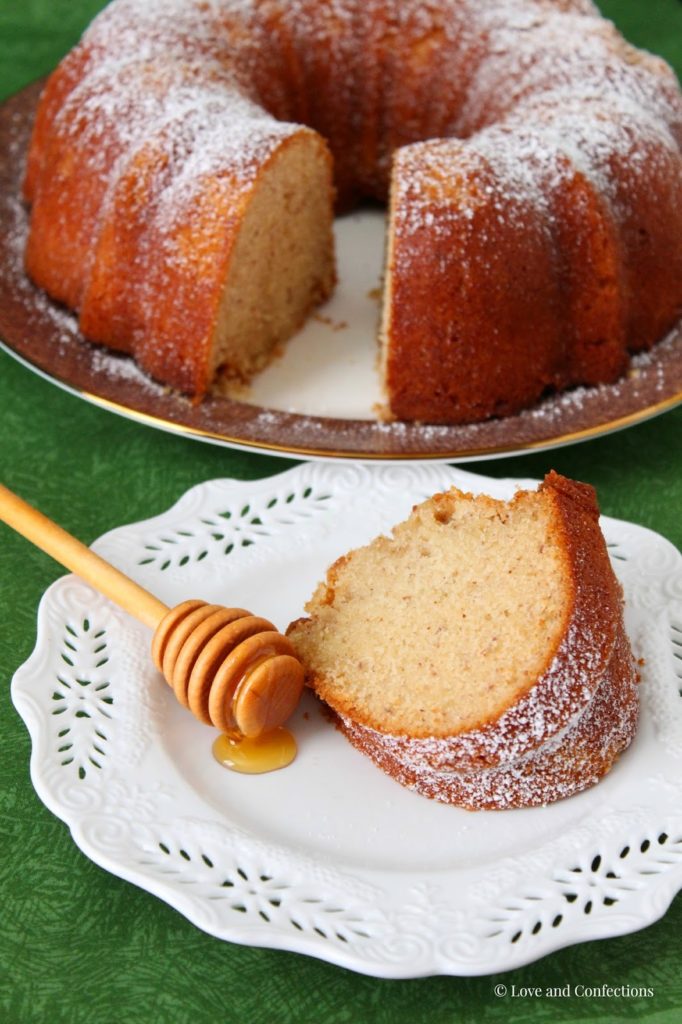
7. In a small saucepan, combine the Light Brown Sugar, Water, Honey, Vanilla Extract, Almond Extract and Salt until the sugar and honey have dissolved or combined into a warm mixture. Slowly pour the glaze all over the cake (still in the pan) and let it sit until cool. Turn out onto a cake plate and dust with Powdered Sugar and drizzle with Honey. Enjoy!
Until next time,
LOVE & CONFECTIONS!
#BundtBakers is a group of Bundt loving bakers who get together once a month to bake Bundts with a common ingredient or theme. Follow our Pinterest board right here. Links are also updated each month on the BundtBakers home page.
We take turns hosting each month and choosing the theme/ingredient. Thank you Laura, from Baking in Pyjamas for hosting this month.
If you are a food blogger and would like to join us, just send Stacy an email with your blog URL to foodlustpeoplelove@gmail.com.
Don’t forget to check out the other amazing bundt cakes for this month’s #BundtBakers:
- A Taste of Honey by Margaret at Tea and Scones
- Hipy Papy Bthuthdth Thuthda Bthuthdy Cake by Lauren at Sew You Think You Can Cook
- Honey Almond Bundt Cake by Terri at Love and Confections
- Honey Baba au Rhum by Kelly at Passion Kneaded
- Honey Banana Bundt by Jane at Jane’s Adventures in Dinner
- Honey Bundt Cake with Lemon Honey Glaze by Bea and Mara at I Love Bundt Cakes
- Honey Bunny Bundt Cake by Teri at The Freshman Cook
- Honey Caramel Apple Bundt Cake by Laura at Baking in Pyjamas
- Honey Glazed Blackberry Cornmeal Bundt Cake by Tux at Brooklyn Homemaker
- Honey Lemon Poppy Seed Bundt Cake by Lauren at From Gate to Plate
- Honey Roasted Peanut Butter Pound Cake by Renee at Magnolia Days
- Honey Whiskey Mini Bundt Cakes with Honey Whiskey Glaze by Stacy at Food Lust People Love
- Orange Hazelnut Bundt Cake by Zainab at Blahnik Baker
- Whole Wheat Honey Spiced Apple Breakfast Bundtlettes by Laura at The Spiced Life