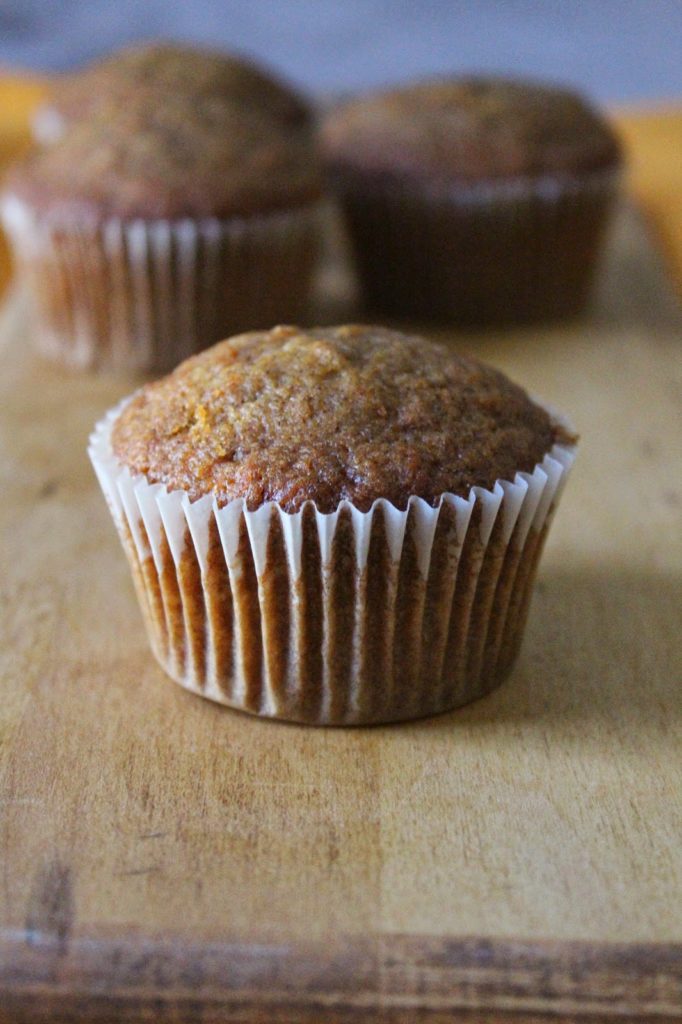
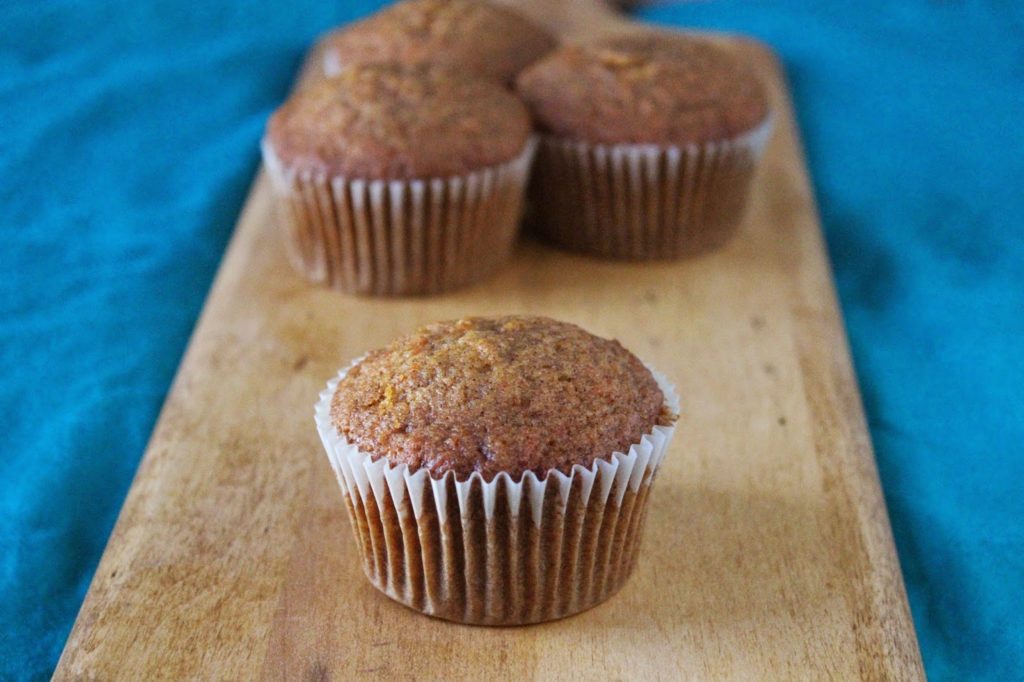
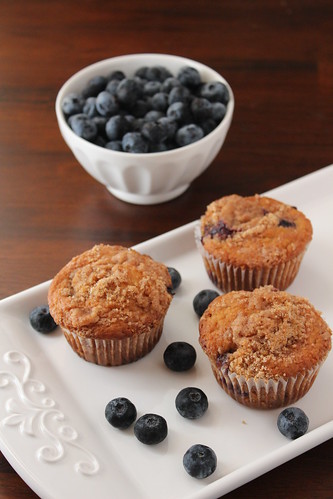
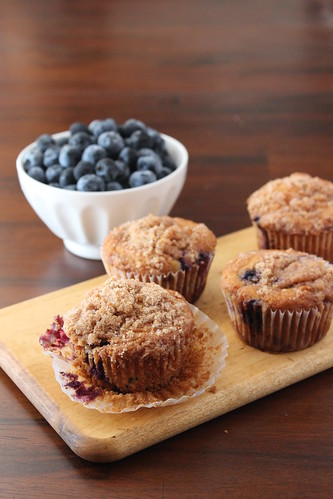
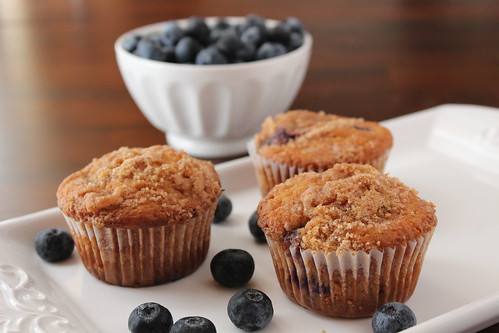
There is nothing like a warm muffin right out of the oven. Seriously. It’s almost too hot to handle but I do it anyway – and I hope I’m not the only one. As soon as it isn’t lava flow hot, I grab one off the cooling rack and take a big bite.

If I happen to have the will power to let these muffins cool a bit, I usually cut them in half and add a small bit of butter. Butter melting on a hot muffin is mesmerizing. It slowly creeps into all those delicious nooks and crannies; pooling and moistening the muffin. If you’re feeling adventurous – which you should be with muffins, of course – spread on some whipped cream cheese… oh my heaven, it’s gloriously good.
Now that I hopefully have you salivating, this recipe should definitely be the next one you make. I can’t tell you where it came from or who gave it to who, but my family has been making this for years and I absolutely love it.
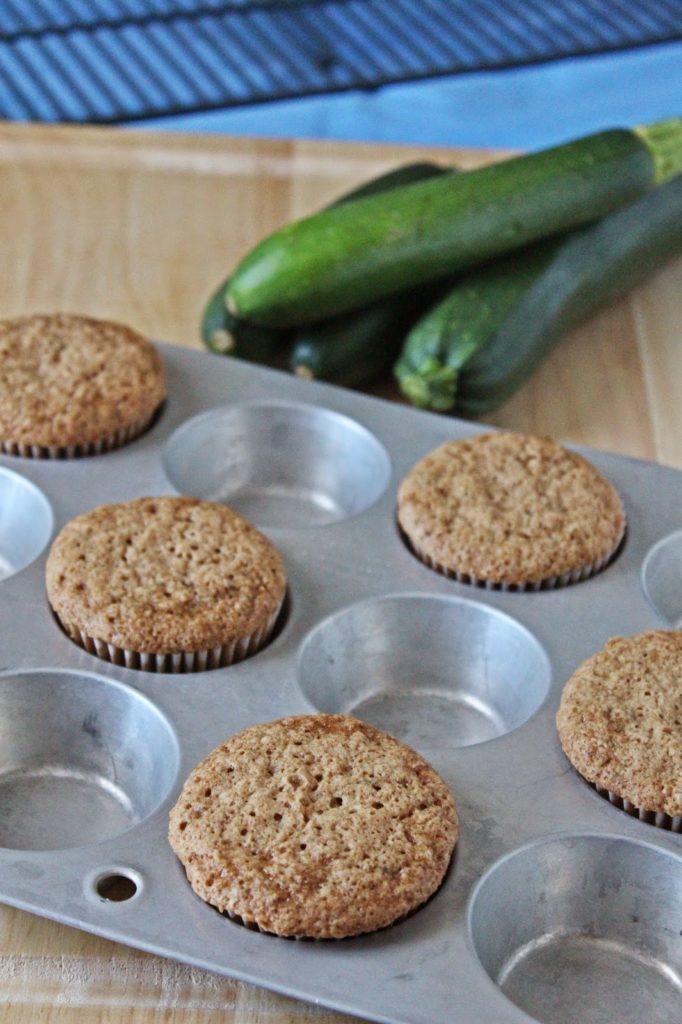
Chocolate Chip Zucchini Muffins
adapted from a Love and Confection family recipe
yield 14 muffins
Click here for the printable version!
Chocolate Chip Zucchini Muffin Ingredients:
– 2 large Eggs
– 1/2 cup Vegetable Oil
– 1 cup Granulated Sugar
– 1 & 1/2 cups All Purpose Flour
– 1/2 teaspoon Salt
– 1/2 teaspoon Baking Soda
– 1 & 1/2 teaspoons Baking Powder
– 1 tablespoon ground Cinnamon
– 1 teaspoon Vanilla Extract
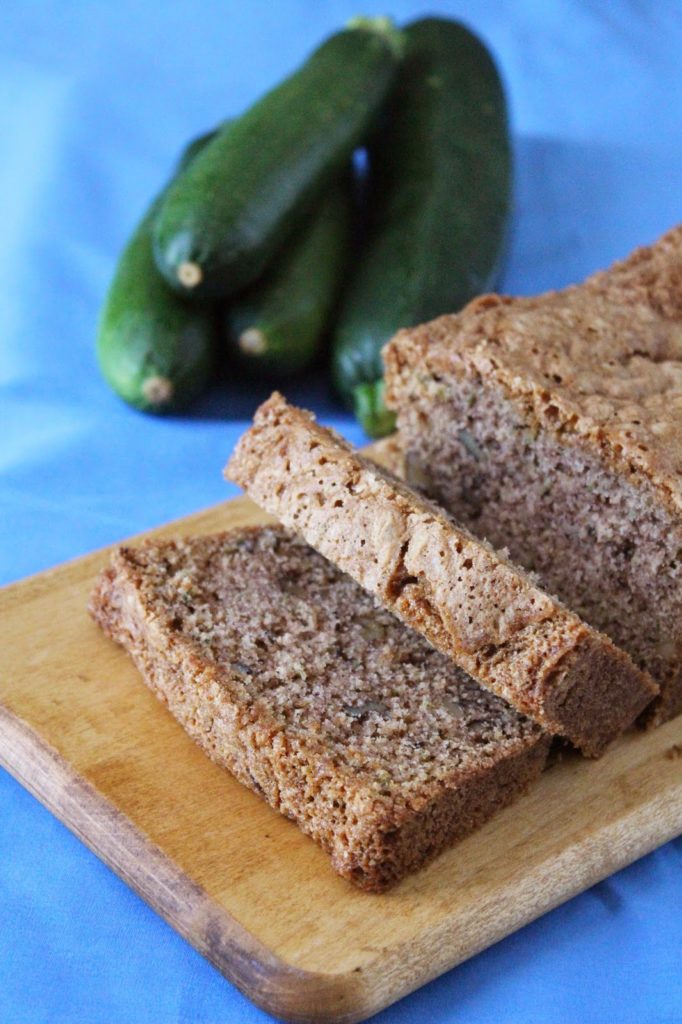
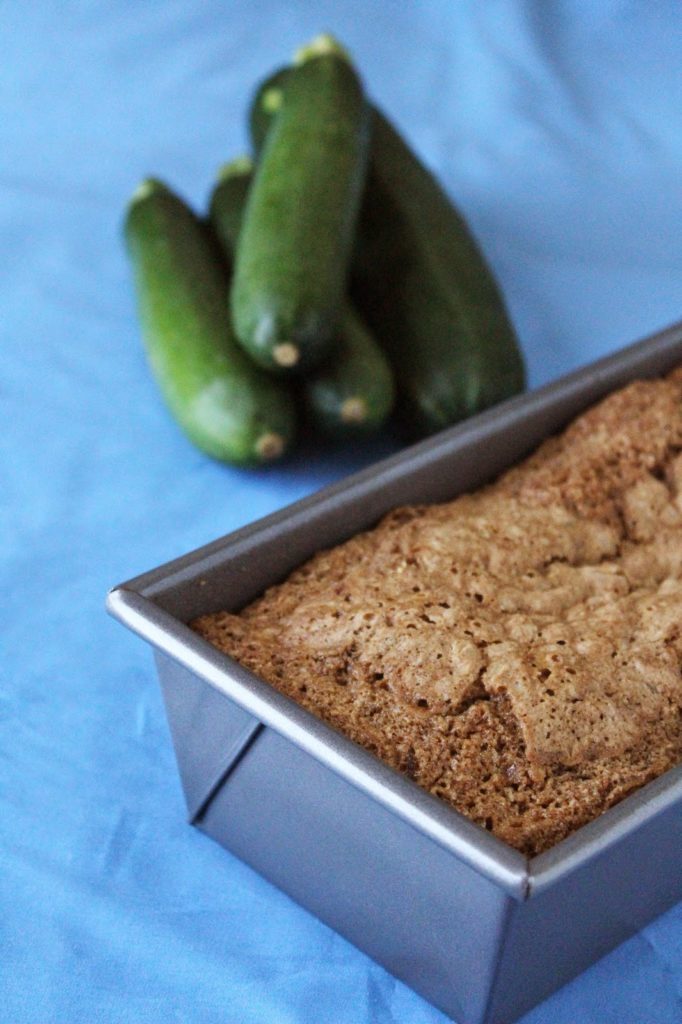
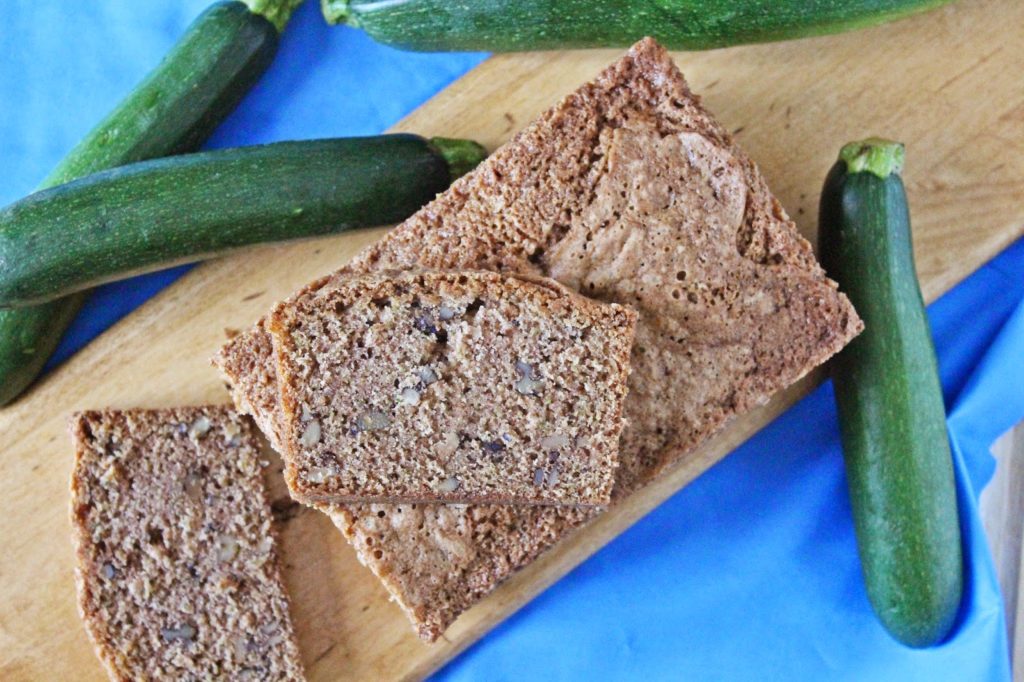
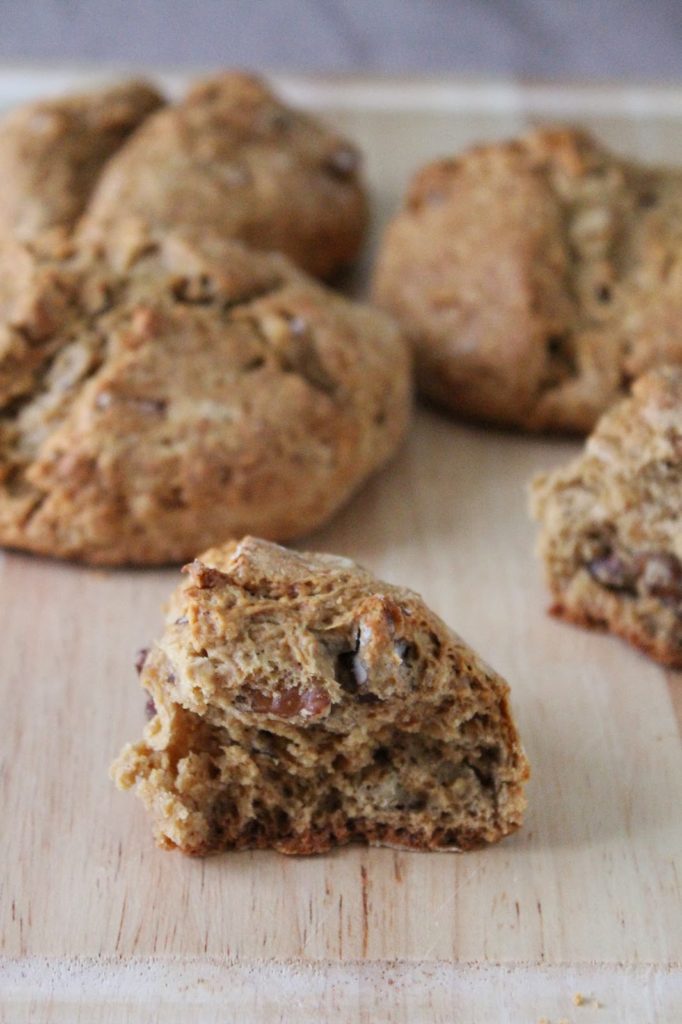
– 1 cup Zucchini, grated and drained
– 3/4 cups Chocolate Chips
Chocolate Chip Zucchini Muffin Directions:
1. Heat oven to 325°F and line muffin tins with baking cups.
2. In the bowl of your stand mixer, or in a medium bowl with a hand mixer, beat the Eggs for 1 minute.
3. Add in the Vegetable Oil and Granulated Sugar. Beat until well combined.
4. Add in Flour, Salt, Baking Soda, Baking Powder and Cinnamon. Beat on low until all the dry ingredients are incorporated. Scrape down the sides of the bowl to insure everything is mixed together well.
5. Add in the Vanilla Extract and grated Zucchini. Mix briefly, just to combine. By hand, stir in the Chocolate Chips.
6. With a 1/4 cup scoop, evenly distribute the batter into the muffin cups. Bake for 25-30 minutes, until golden brown, the top springs back when touched and a toothpick inserted into the muffin comes out clean.
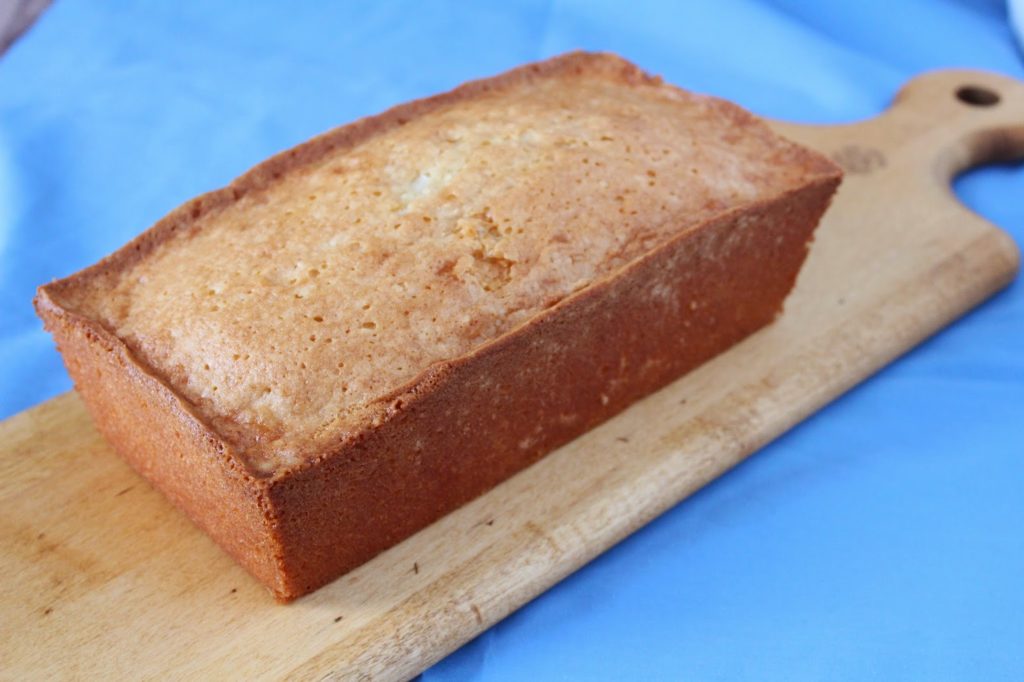
7. Cool on a wire rack. Can be stored in an airtight container for up to 3 days, or once room temperature, frozen in an airtight container for up to 2 weeks.
Until next time,
LOVE & CONFECTIONS!