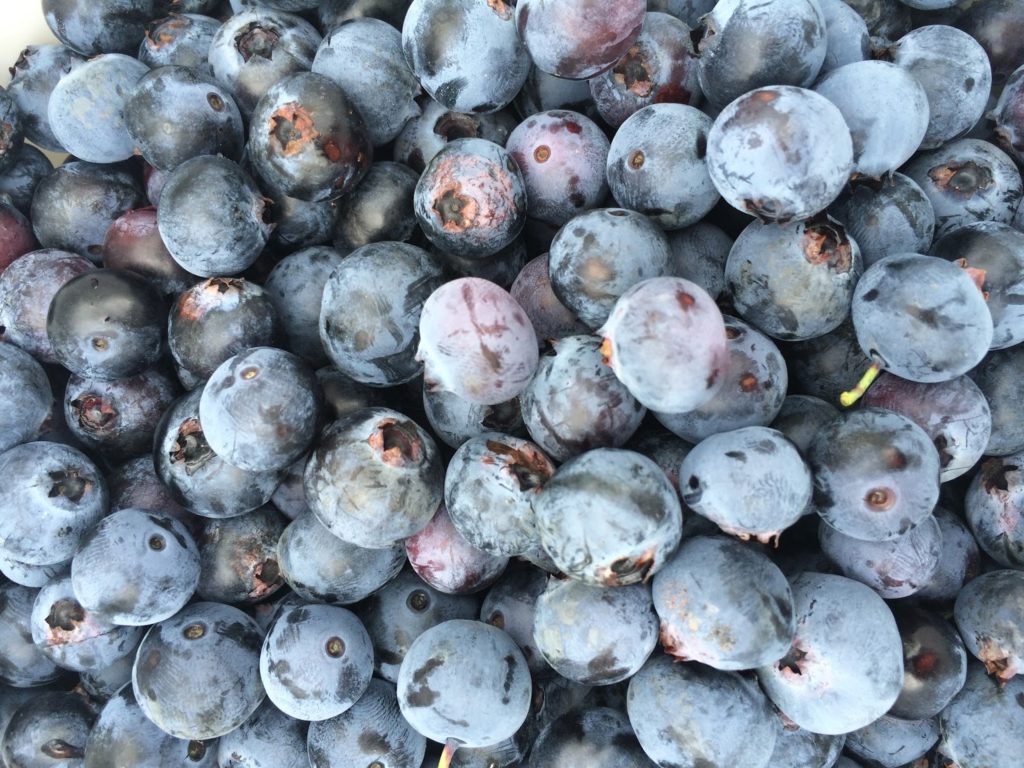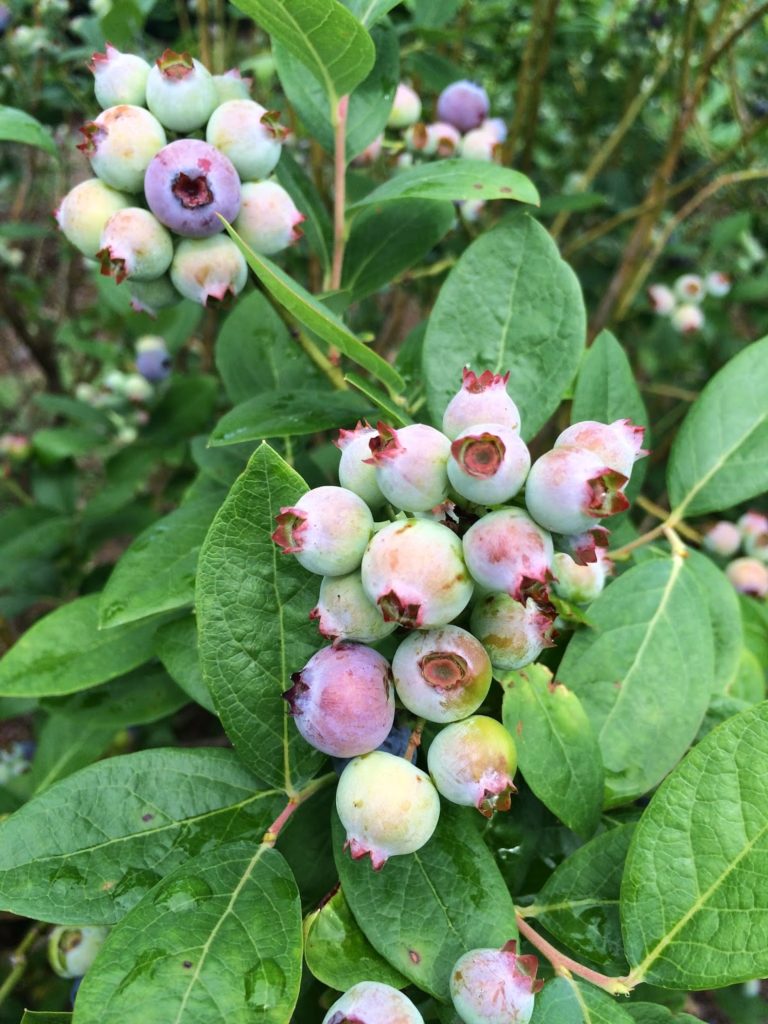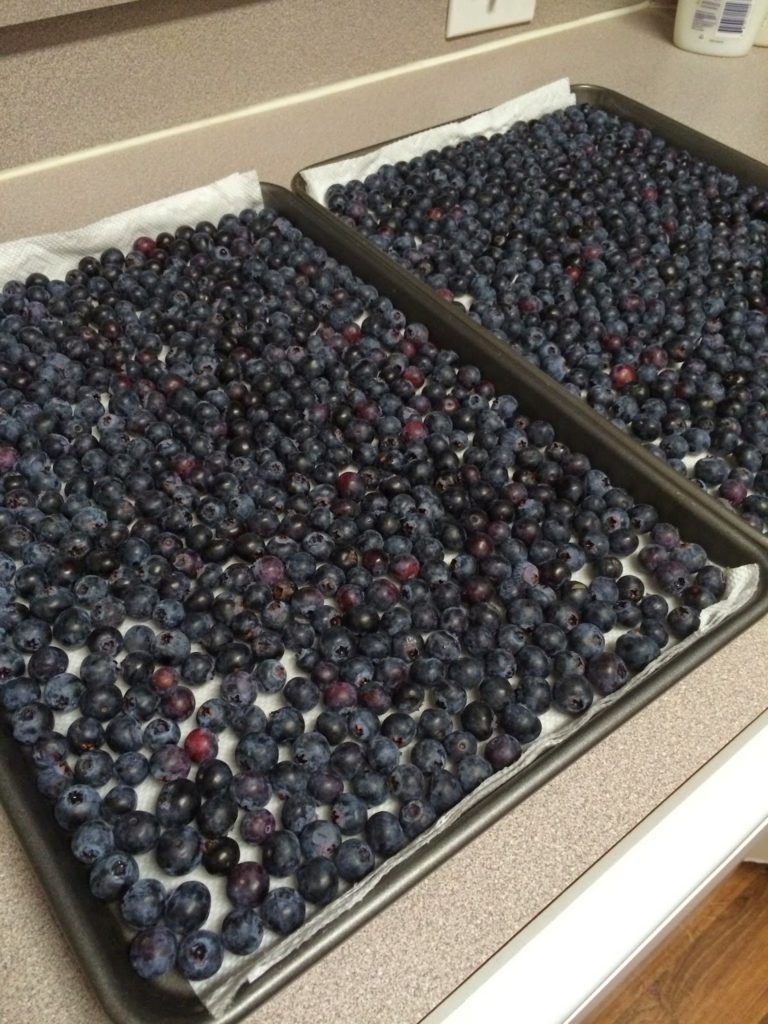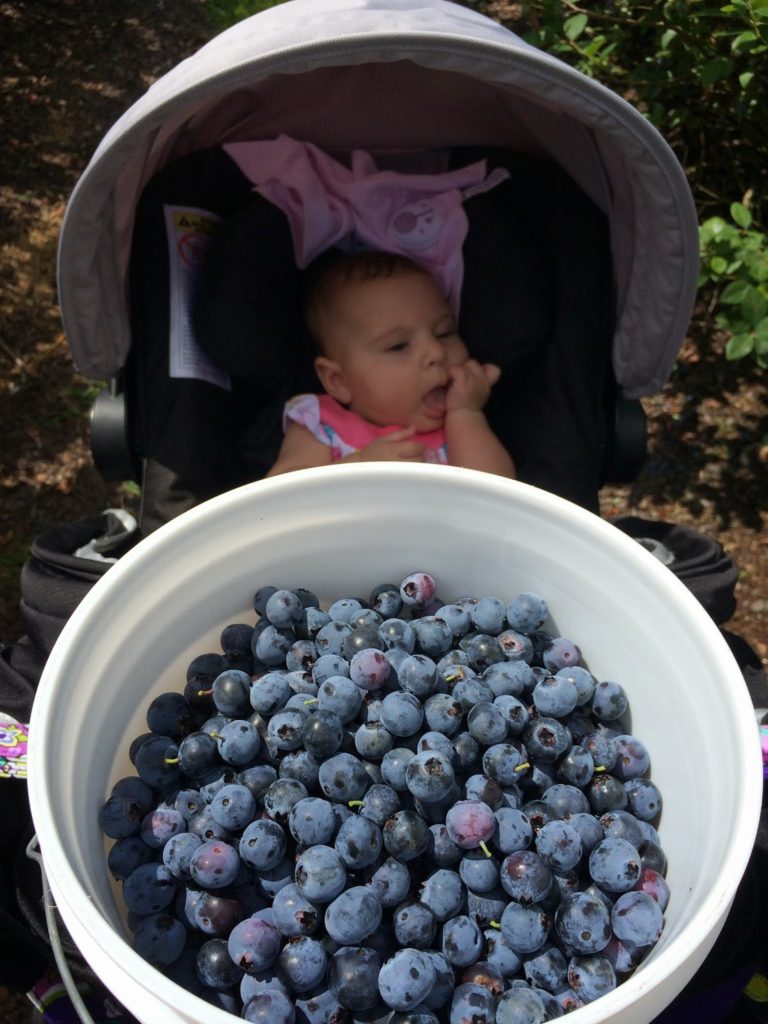
This Independence Day, I will be having a barbecue and pool party with the family. Baby L&C will be decked out in her adorable red, white and blue outfit, and of course she has a cute bathing suit and float for the pool. I love grilling outdoors and grilling with family and friends is one of the best parts of Summer. If you need any good grilling recipes for this weekend, check out my friend, Kim’s site – Kiss My Smoke.

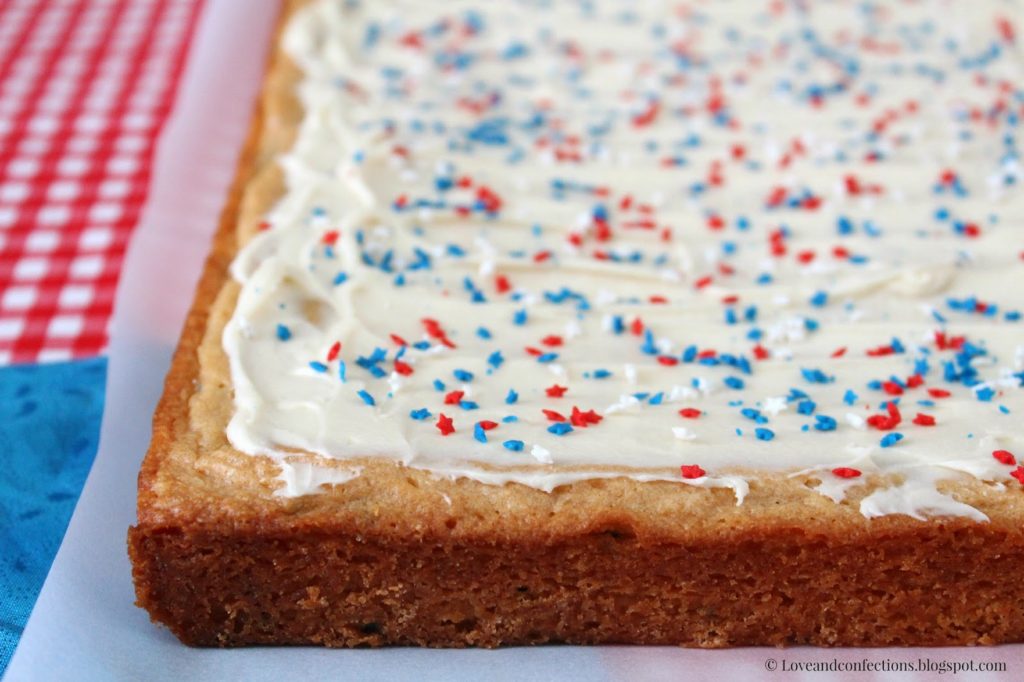
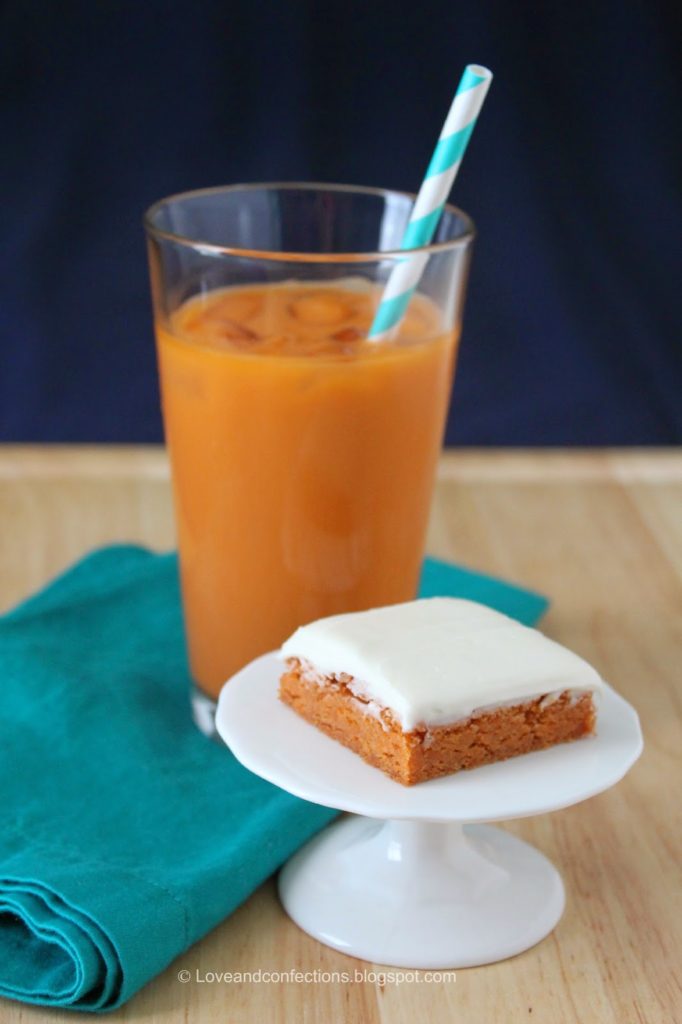
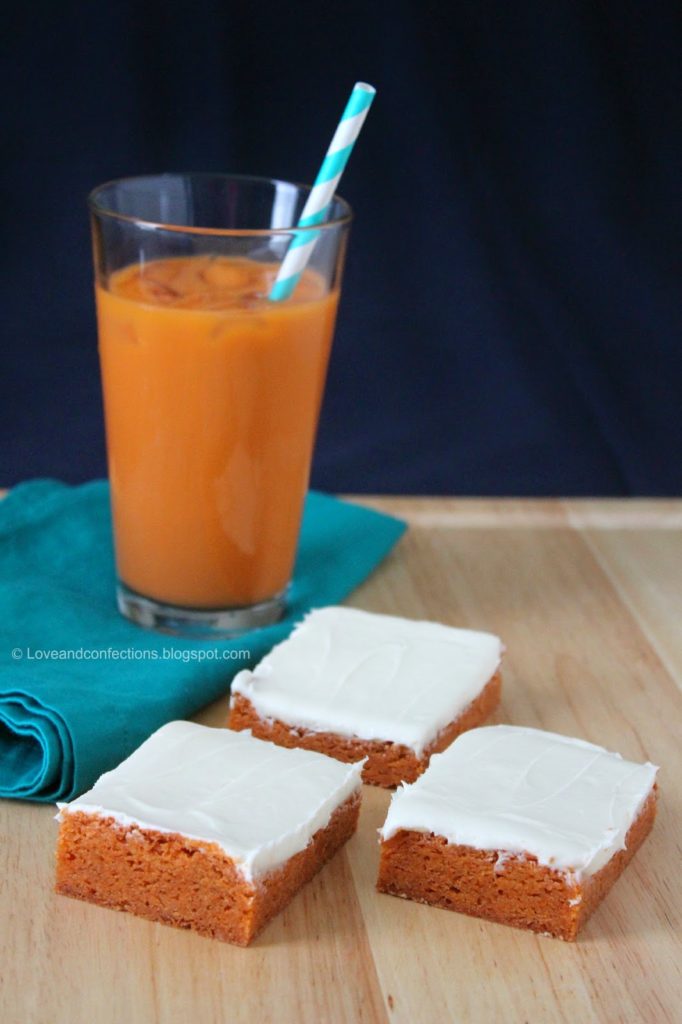
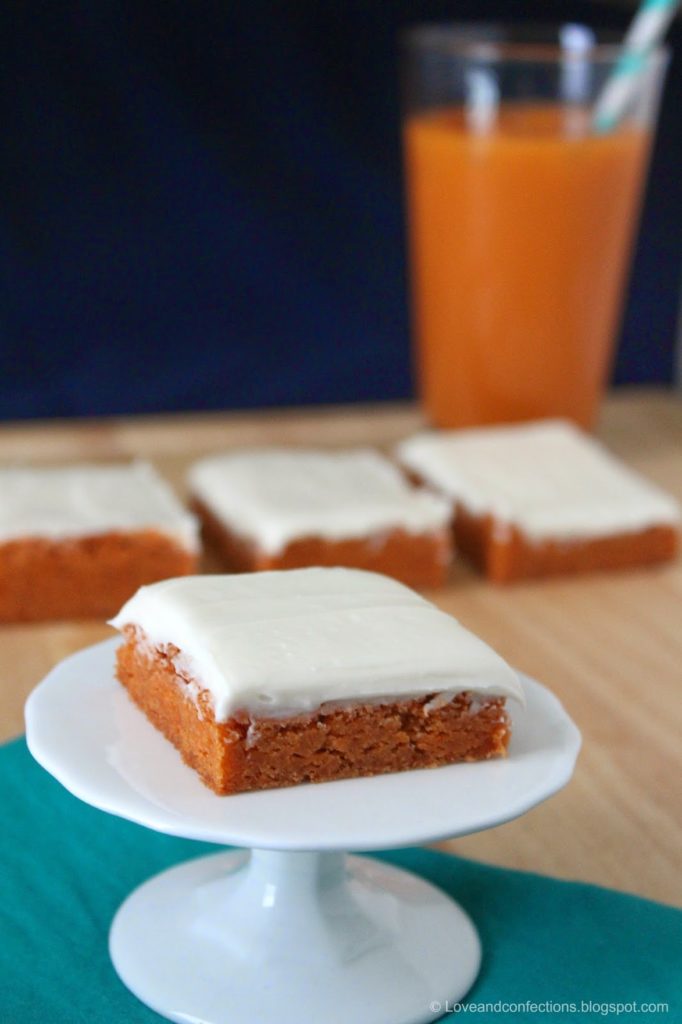
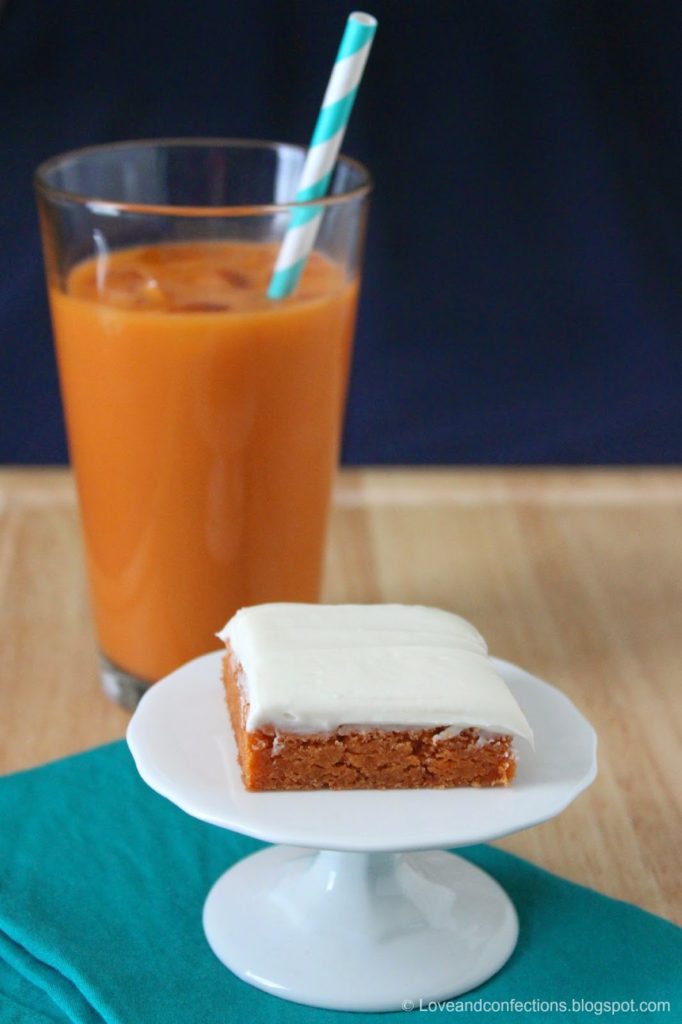
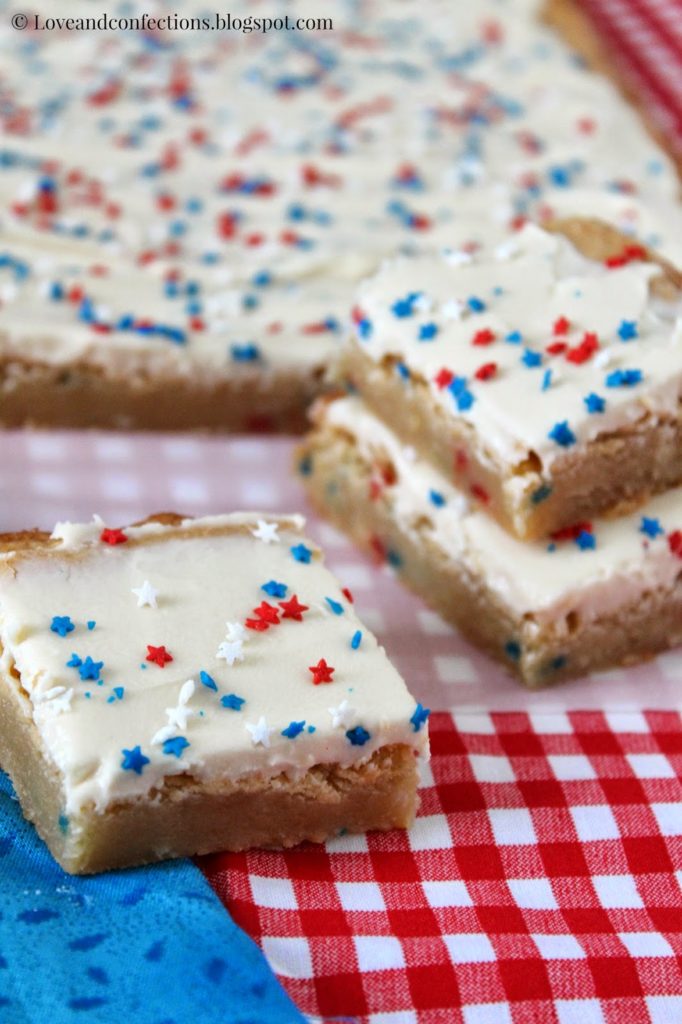
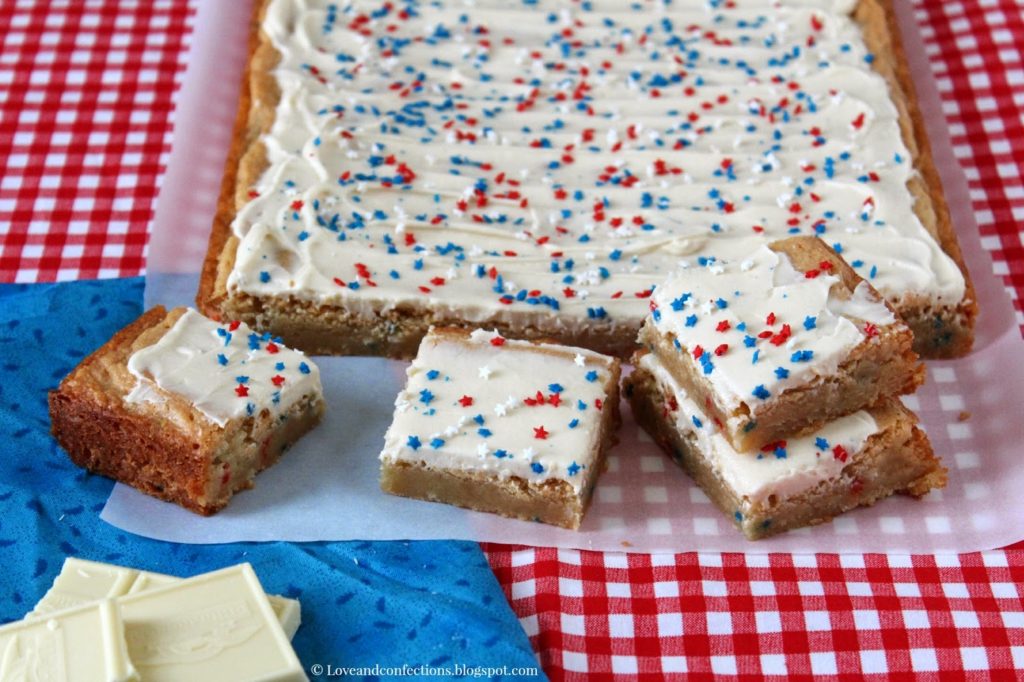
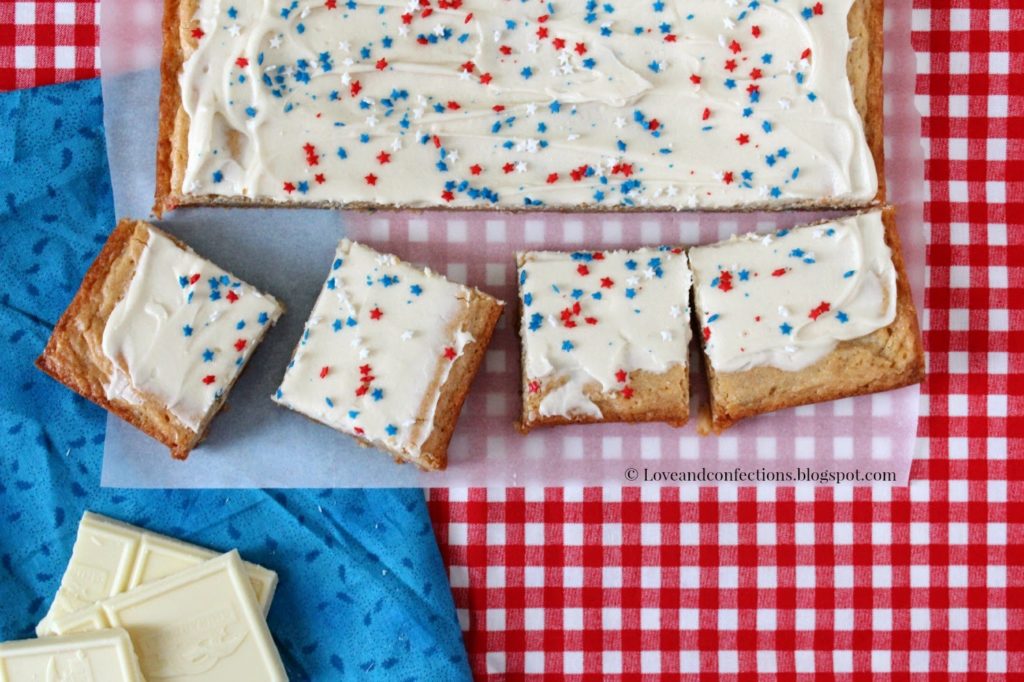
White Chocolate Blondies with White Chocolate Frosting
a Love and Confection original
Click here for the printable recipe
White Chocolate Blondie Ingredients:
– 2 sticks Unsalted Butter, room temperature
– 6 ounces White Baking Chocolate
– 1 cup Brown Sugar
– 1 cup Granulated Sugar
– 2 large Eggs
– 2 teaspoons Vanilla Extract
– 1 teaspoon Salt
– 2 cups All-Purpose Flour
– 1/4 cup Milk
– 2 tablespoons Sprinkles (optional)
White Chocolate Blondie Directions:
1. Heat the oven to 350°F. Prepare a 9×13 baking pan with parchment paper and baking spray (leaving an overhand so you can get the blondies out easily).
2. In a small saucepan, melt the Butter and White Baking Chocolate until there are no lumps, stirring frequently so it doesn’t burn.
3. In the bowl of your stand mixer or a medium bowl with a hand mixer, add the Butter/Chocolate mixture, Brown Sugar, Granulated Sugar, Eggs, Vanilla Extract and Salt. Blend until combined.
4. Add in the Flour, one cup at a time and the Milk. Mix to combine.
5. Add the Sprinkles and mix by hand with a spatula. Pour into pan and bake for 30-35 minutes, or until a toothpick inserted in the center comes out clean.
6. Cool in pan for 10 minutes, then using the parchment paper, remove from pan and cool on wire rack. Frost when cool (optional).
White Chocolate Frosting Ingredients:
– 2 ounces White Baking Chocolate
– 3 tablespoons Unsalted Butter, room temperature
– 1 teaspoon Vanilla Extract*
– Pinch of Salt
– 1 cup Powdered Sugar
– 2 tablespoons Heavy Cream
– Sprinkles (optional)
White Chocolate Frosting Directions:
1. Melt White Baking Chocolate in a microwave-safe bowl for 20 second intervals, stirring after each round in the microwave.
2. In a small bowl, mix the White Chocolate, Butter, Vanilla Extract and Salt until combined.
3. Add in the Powdered Sugar, one half cup and a time and mix together – I used a hand mixer for the frosting. Add in Heavy Cream and blend
4. Frost on cool blondies with an offset spatula. Decorate with
* for a whiter frosting, use clear vanilla extract – although it will not be completely white because of the color of butter and white chocolate.
Until next time,
LOVE & CONFECTIONS!
Disclaimer: post contains affiliate links.